在 Debian 上做 Go 服务时,缓存通常是最先碰到的性能优化点之一。问题并不只是“怎么把数据存起来”,而是要判断当前项目更适合用一个简单的进程内缓存,还是直接上带淘汰和容量控制的成熟库。下面就按这个思路,从手写内存缓存开始,跑通最小示例,再看 ristretto 这种第三方方案能解决什么问题。
先在 Debian 上准备 Go 环境
如果系统里还没有安装 Go,可以先执行下面两条命令:
sudo apt update
sudo apt install golang-go
这一步完成后,就可以直接在 Debian 上创建并运行示例程序。
先写一个最基础的内存缓存
对于单进程、小规模场景,先用一个简单的内存缓存验证逻辑,通常比一开始就引入复杂组件更直接。原文示例使用 map 存储数据,并用互斥锁保证并发访问安全。
创建项目目录
mkdir cache-demo
cd cache-demo
编写 main.go
新建一个 main.go 文件,写入下面的代码:
package main

import (
    "fmt"
    "sync"
    "time"
)

// Cache 是一个简单的内存缓存结构
type Cache struct {
    mu    sync.Mutex
    items map[string]interface{}
}

// NewCache 创建一个新的缓存实例
func NewCache() *Cache {
    return &Cache{
        items: make(map[string]interface{}),
    }
}

// Get 获取缓存中的值
func (c *Cache) Get(key string) (interface{}, bool) {
    c.mu.Lock()
    defer c.mu.Unlock()
    if value, found := c.items[key]; found {
        return value, true
    }
    return nil, false
}

// Set 设置缓存中的值
func (c *Cache) Set(key string, value interface{}) {
    c.mu.Lock()
    defer c.mu.Unlock()
    c.items[key] = value
}

// Delete 删除缓存中的值
func (c *Cache) Delete(key string) {
    c.mu.Lock()
    defer c.mu.Unlock()
    delete(c.items, key)
}

func main() {
    cache := NewCache()

    // 设置缓存
    cache.Set("key1", "value1")
    cache.Set("key2", "value2")

    // 获取缓存
    if value, found := cache.Get("key1"); found {
        fmt.Println("key1:", value)
    } else {
        fmt.Println("key1 not found")
    }

    // 删除缓存
    cache.Delete("key1")

    // 再次获取缓存
    if value, found := cache.Get("key1"); found {
        fmt.Println("key1:", value)
    } else {
        fmt.Println("key1 not found")
    }
}
这段代码的核心很清楚:
- 用
map[string]interface{}保存缓存项; - 通过
sync.Mutex保护Get、Set、Delete; - 暴露一个最小可用的缓存接口,方便先验证业务流程。
需要注意的是,虽然示例里引入了 time,但这份代码本身并没有实现过期时间或定时清理逻辑。
运行示例并确认缓存行为
在项目目录下执行:
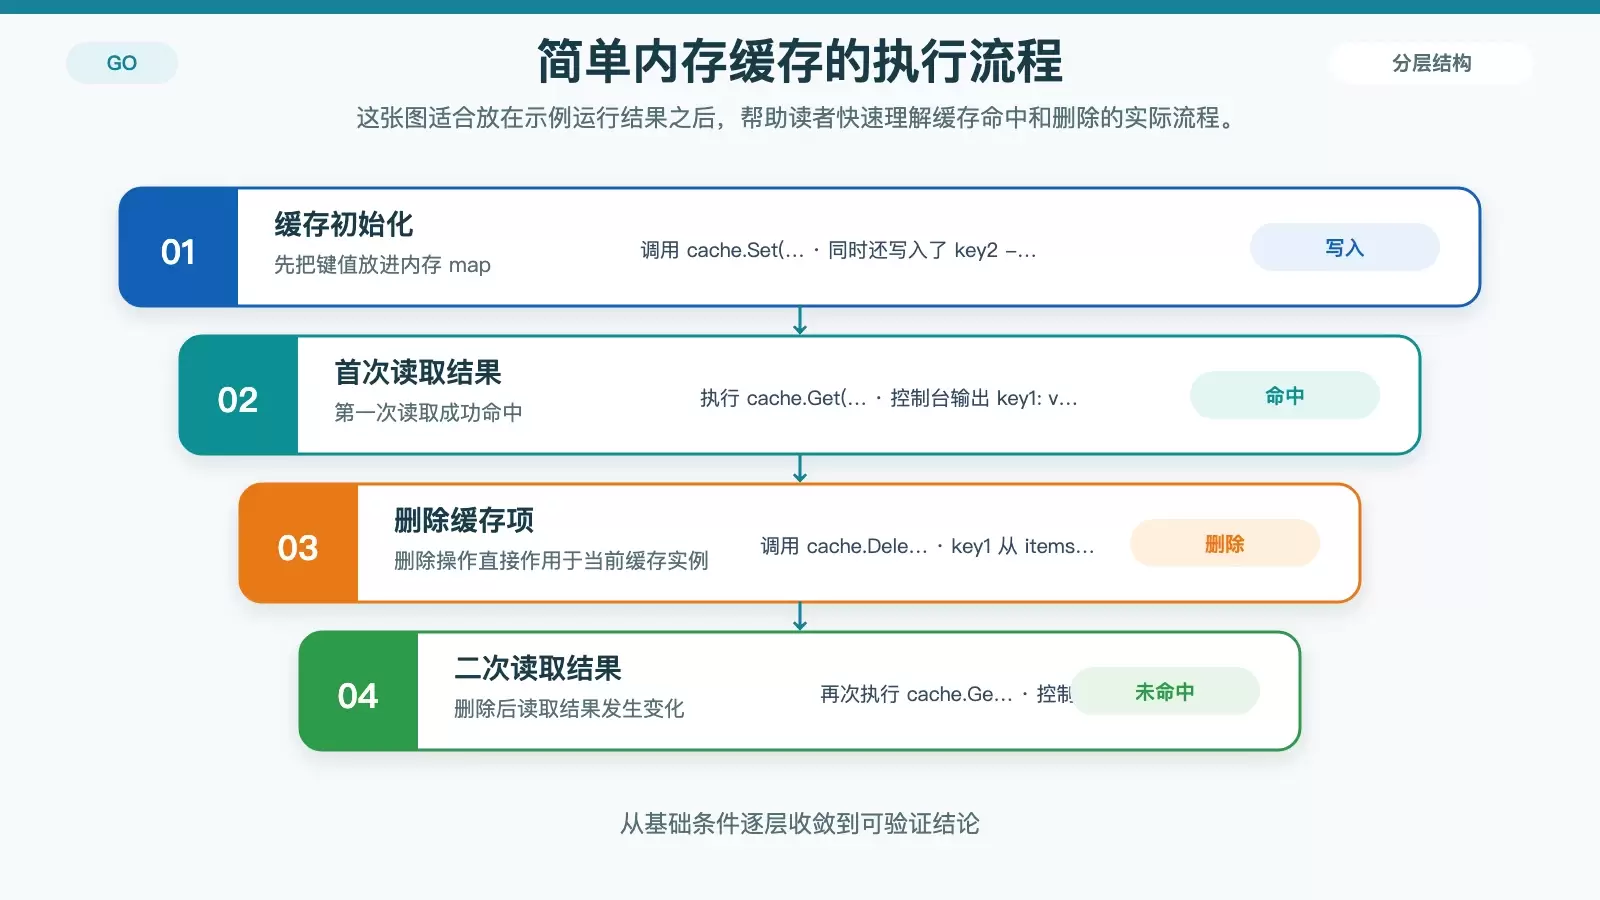
go run main.go输出结果应为:
key1: value1
key1 not found
这说明两个关键动作已经生效:
- 第一次读取时,
key1能从缓存中命中; - 删除后再次读取,缓存未命中,返回
key1 not found。
如果你的需求只是给单个 Go 进程加一层轻量缓存,这种写法已经能满足最基础的存取和删除场景。
需要淘汰和容量控制时,改用 ristretto
一旦项目开始关注缓存淘汰、过期策略、高并发性能或内存上限,继续手写缓存的成本就会迅速上升。原文这里推荐了 groupcache 和 ristretto,其中示例采用的是来自 Dgraph 团队的 ristretto。

安装 ristretto
go get github.com/dgraph-io/ristretto把示例程序切换到 ristretto
将 main.go 替换为以下代码:
package main

import (
    "fmt"
    "github.com/dgraph-io/ristretto"
)

func main() {
    // 创建一个ristretto缓存实例
    cache, err := ristretto.NewCache(&ristretto.Options{
        NumCounters: 1e7,   // number of keys to track frequency of (10M).
        MaxCost:     1 << 30, // maximum cost of cache (1GB).
        BufferItems: 64,     // number of keys per Get buffer.
    })
    if err != nil {
        panic(err)
    }

    // 设置缓存
    cache.Set("key1", "value1", 1)
    cache.Set("key2", "value2", 1)

    // 获取缓存
    if value, found := cache.Get("key1"); found {
        fmt.Println("key1:", value)
    } else {
        fmt.Println("key1 not found")
    }

    // 删除缓存
    cache.Del("key1")

    // 再次获取缓存
    if value, found := cache.Get("key1"); found {
        fmt.Println("key1:", value)
    } else {
        fmt.Println("key1 not found")
    }
}
这份代码和手写版本相比,差异主要集中在三点:
NumCounters: 1e7:用于跟踪键访问频率,注释中说明是 10M;MaxCost: 1 << 30:缓存最大成本为 1GB;BufferItems: 64:每个Get缓冲的键数量为 64。
同时,写入和删除接口也与手写版不同:Set("key1", "value1", 1) 增加了 cost 参数,删除使用的是 Del 而不是 Delete。
再次运行并理解输出结果
切换为 ristretto 后,仍然执行同样的命令:
go run main.go输出依旧是:
key1: value1
key1 not found
从演示结果看,程序行为和手写缓存保持一致:先命中,再删除,再未命中。区别在于,底层缓存实现已经从一个自定义 map + Mutex,切换成了带容量与性能优化能力的现成库。
Debian 上该选手写缓存还是第三方库
如果只是做一个简单的进程内缓存,手写版本的优点是足够直观、便于理解,也方便快速验证业务逻辑。但只要开始涉及缓存淘汰、容量限制、自动过期或更高并发,直接采用 ristretto 这类成熟库通常更稳妥。
再往前一步,如果业务已经不只是单进程缓存,而是需要跨进程、跨实例共享数据,那么就该把视角从本地内存缓存转到 Redis 这类分布式缓存系统上。原文没有展开这一部分,但作为选型边界,它值得提前明确。


