为了吾王1职业强度排行推荐
时间:2025-09-25 | 作者: | 阅读:753为了吾王1职业强度排行推荐?可能有童鞋还不了解为了吾王手机版职业选择,下面由心愿游戏小编为您带来这方面的答案,快来看看吧。
T0职业
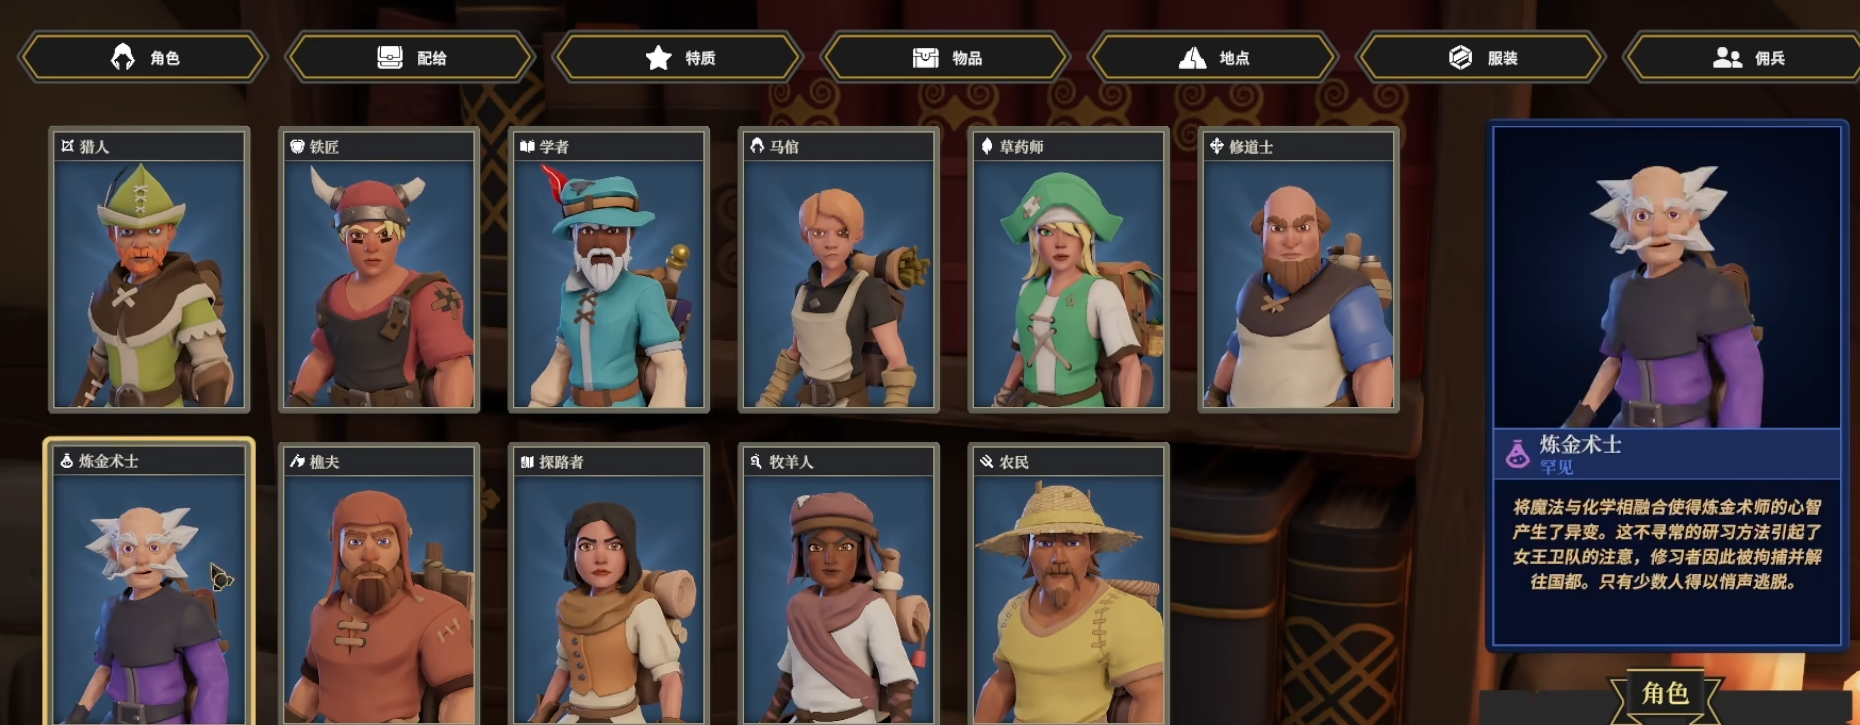
首当其冲的便是学者。作为智力型法师的标杆,拥有全游戏最高的78点智力属性,其范围伤害技能在刷图和联机中表现极为出色。被动技能可进一步提升智力,使得后期输出能力达到恐怖水平,是团队中当之无愧的法术炮台;吟游诗人则是辅助职业无解天花板,78点地才能属性冠绝全游戏,技能”振奋之声“能提升全队的完美判定概率,”智慧启迪“则可概率获得额外经验值,加速团队成长 ;猎人以78点的敏捷和意识属性成为高机动刺客的代表,闪避和攻速极高,特别适合地图探索与灵活作战,弓箭和长矛的消耗战表现尤为突出。
T1职业
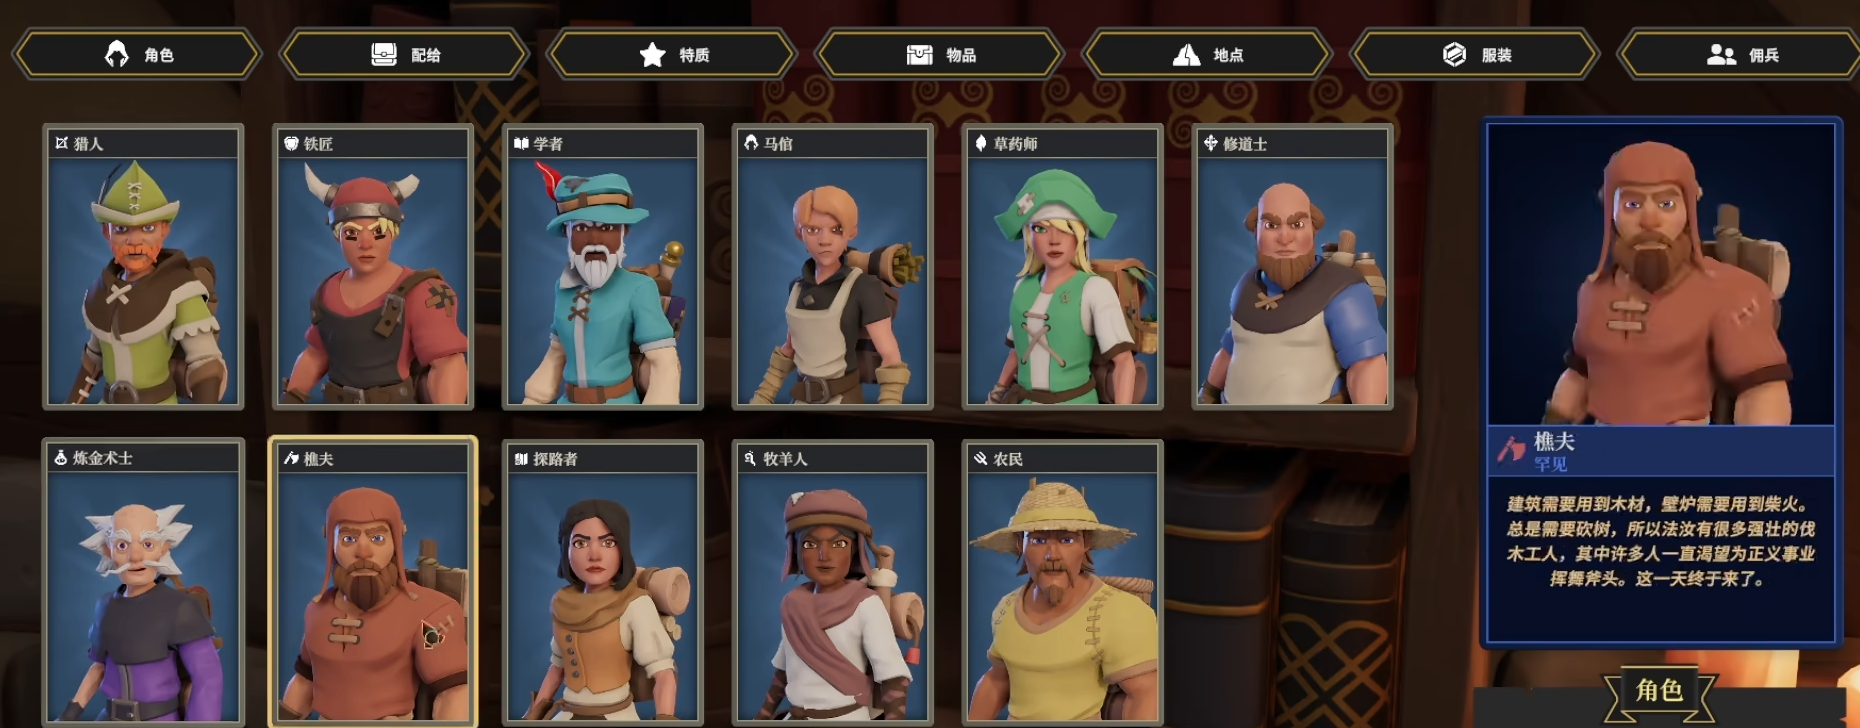
在特定场景下,能发挥不亚于T0职业的作用,是团队构建的中坚力量。樵夫作为力量型战士的代表,拥有全职业最高的力量属性,技能”正义之裁“有15%概率触发溅射伤害,配合双手斧能造成惊人的群体爆发。铁匠则是坦克职业的典范,突出的力量与体质属性使其成为团队的核心防御点,配合嘲讽盾牌能有效保护后排。草药师虽然输出能力有限,但其”群体治疗“技能通过消耗神赐芒草能为全队恢复海量生命值,治疗量与角色等级相关,成长性较强。卖艺人做为早期即可解锁的辅助型角色,自带”逃脱精通“技能可在危急时刻快速脱战,避免团灭,其”纵情狂欢“技能还能在城市休息时提供额外金币收益,缓解经济压力。
T2职业
在特定阵容或玩法中能发挥独特价值,但泛用性稍逊。黑帽是控制型角色的代表,高意识与高速度使其擅长用毒药、陷阱等技能对敌人进行削弱,混乱与偷窃技能在PVE中作用显著。农民拥有与樵夫相近的武器池与属性,但速度略低,其被动技能可建造稻草人保护后排,在对抗穿刺攻击时效果有限。设陷者兼具辅助与输出能力,敏捷和意识属性仅次于猎人,天赋技能含金量高,但基础属性相对弱势。
T3职业
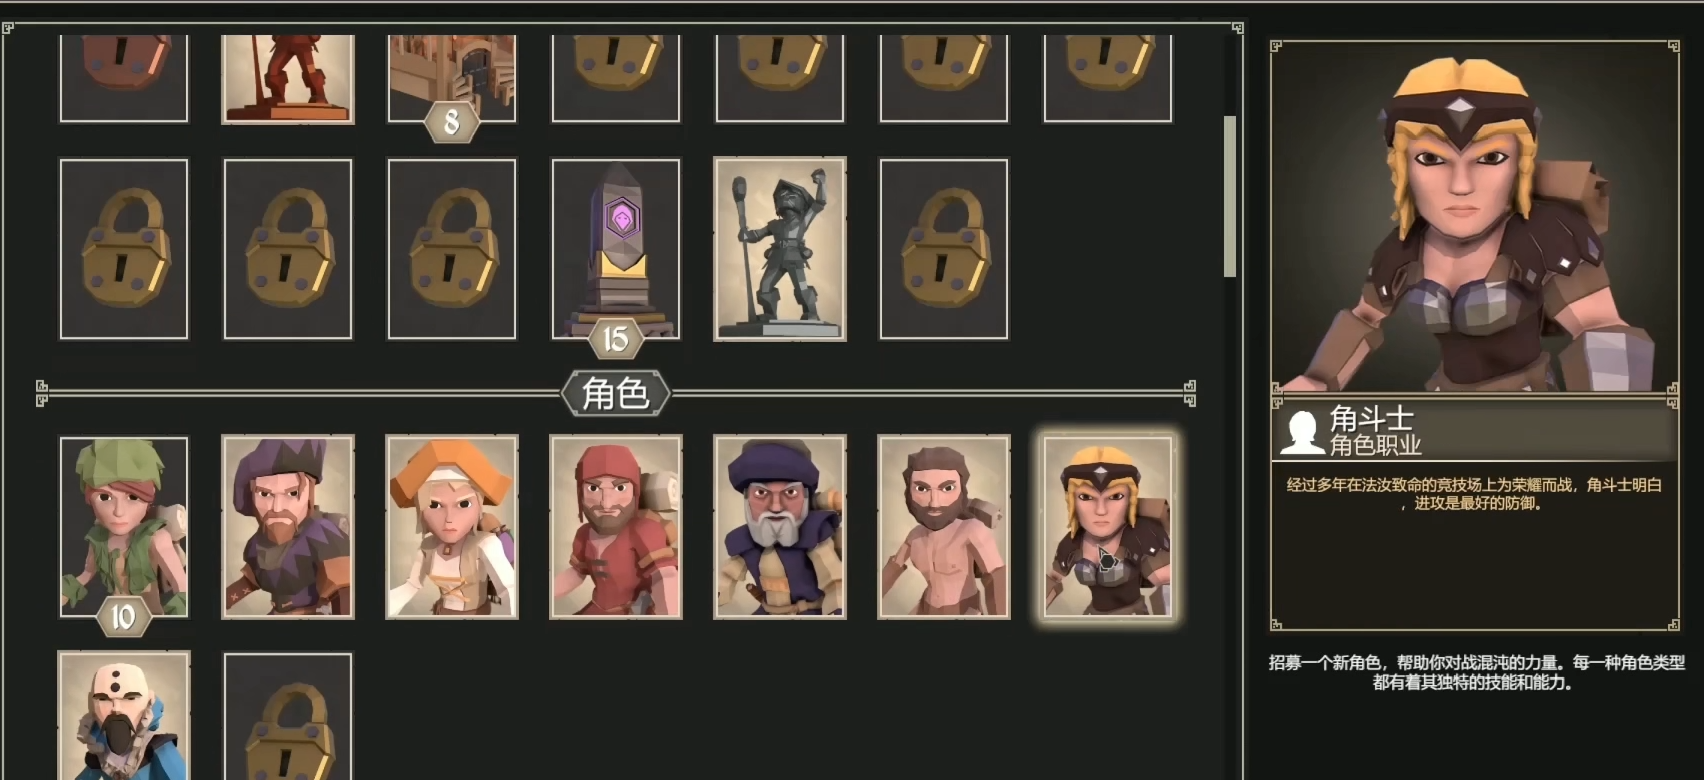
在当前版本中存在明显短板,需要特定条件才能发挥价值。牧羊人因活力/意识武器弱势、速度低下且被动技能效果不佳,被玩家普遍认为是当前版本的下水道角色 。角斗士虽然拥有高力量与高敏捷的独特组合,但血量过低导致生存能力堪忧,需要精细操作与装备支持。天文学家作为肉装法师的代表,防御属性突出但敏捷度低,其概率秒杀机制虽然上限高但稳定性不足。
职业特性
深入了解各职业的核心技能与属性分布,是合理搭配阵容的前提条件。其中每种类型都有其独特的战斗风格与培养路线。力量型职业以高物理输出与坚韧生存为特色,是团队的关键核心。樵夫,拥有当前游戏中相对较高的基础力量值,一度超越了角斗士和铁匠,配合生命值,成为兼具了抗打和输出能力参半的半坦半输出型角色。其核心的技能”破门精通“在探索中发挥出色作用,可以更高几率的突破封锁,打开特殊通道以及密室;”正义之裁“在使用双手武器时概率造成溅射伤害,大幅提升清怪效率。铁匠作为纯防御向职业,其”稳固“技能有概率免疫伤害,自带嘲讽可吸引火力,在对抗AOE伤害密集的BOSS(如霜龙)时表现尤为出色。
来源:https://www.wandoujia.com/apps/8431927/1779159700954518464.html
免责声明:文中图文均来自网络,如有侵权请联系删除,心愿游戏发布此文仅为传递信息,不代表心愿游戏认同其观点或证实其描述。
相关文章
更多-

- 为了吾王单机大师怎么过 为了吾王单机大师通关攻略
- 时间:2026-01-29
-

- 为了吾王如何摧毁矿车 为了吾王摧毁矿车方法
- 时间:2026-01-29
-

- 为了吾王如何解锁所有人物 为了吾王角色解锁条件分享
- 时间:2026-01-29
-

- 为了吾王如何解除诅咒 为了吾王即死印记解除指南
- 时间:2026-01-29
-
- 为了吾王怪物图鉴怎么详细解读
- 时间:2026-01-17
-

- 为了吾王新人怎么玩
- 时间:2026-01-07
-

- 为了吾王装备有什么
- 时间:2025-12-18
-
- 为了吾王强度怎么排行
- 时间:2025-12-11
精选合集
更多大家都在玩
大家都在看
更多-

- 抖音带谈字网名男生霸气(精选100个)
- 时间:2026-02-12
-
- psm什么意思?是什么意思
- 时间:2026-02-12
-

- 挪威语网名男生霸气两个字(精选100个)
- 时间:2026-02-12
-

- mindmanager调整项目间距的操作教程
- 时间:2026-02-12
-
- 我册你们码是什么梗是什么意思
- 时间:2026-02-12
-

- LOL海克斯大乱斗物转蛤蟆怎么玩
- 时间:2026-02-12
-

- 摩尔庄园的拉姆变身值怎么增加
- 时间:2026-02-12
-

- LOL海克斯大乱斗卡兹克怎么玩
- 时间:2026-02-12


